Planning on using Zoom for a virtual classroom course? There’s a lot of great documentation out there on Zoom and the Zoom Canvas integration, but sometimes it’s hard to figure out how to get started. To help you out, we’ve collected some Zoom guides and repackaged them in a way that covers the basics for instructors—scheduling a meeting, sharing the meeting info, things to consider before your first meeting, running a meeting, and recording a meeting.
Scheduling a Meeting
If you’re using Zoom for virtual classroom sessions, we recommend setting up your meetings in Canvas. The Zoom Canvas integration can be accessed from the “Zoom” link at the bottom of your course’s navigation menu on the left side of your screen, and then from there all you need to do is click the “Schedule a New Meeting” button, enter your meeting details, and then click “Save.” For weekly class sessions, you’ll want to make sure that you select the “recurring meeting” checkbox when scheduling your Zoom meeting.
When you schedule a new meeting in Canvas, the Zoom integration automatically creates course calendar events and student To-Do list reminders for each occurrence of the meeting. There are a variety of other meeting settings you can set as well. This Zoom guide can help you learn more about all the meeting setting options.

Sharing the Meeting Info with Your Students
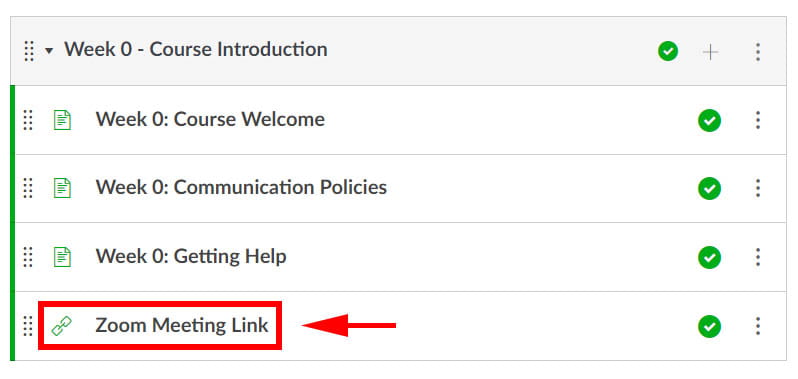
After you set up your meeting, we recommend sharing the meeting info in the first module of your course so it will be easy for students to find. Simply click on your meeting in the Canvas integration, the Zoom web portal, or the application, click the button or link that says “Copy invitation”, and then paste that information into a page in your first module. Another option is to copy the “join link” and add that link in the first module as an external URL (make sure to check “Load in a new tab” when adding the link). We have a recording of a “Teaching with Zoom” session if you would like to see a video walkthrough of setting up a Zoom meeting in Canvas and posting the link in your course, along with our recommendations on which meeting settings to use.
Before Your First Meeting
If a student previously registered for a personal Zoom account using their UWGB email address, they may see the error “user does not exist” when they try accessing Zoom through your Canvas course. The way to resolve this issue is to have all your students log into the UW System Zoom web portal once before they start accessing Zoom from Canvas. The Zoom Web Portal is linked on the UWGB homepage, at the bottom of the tab that opens when you click the “Menu & Search” button in the top-right corner of the page.

Once logged in, students that previously had an account with their UWGB email will be prompted to switch their account to UW System’s license. This knowledgebase article provides more details and complete instructions that you can send to your students. After a student has completed these steps, it may take a few hours for the update to occur, but once complete, your students should have no issues accessing Zoom through Canvas.
Running Your Zoom Meeting
To start your meeting, simply join with the blue “Start” button next to your meeting listing in Canvas, the Zoom web portal, or the Zoom application. While running your session, the controls will be at the bottom of your screen. Here you can toggle on and off your mic and camera, send and read messages in chat, share your screen, start breakout rooms, and more. This Zoom article details the features of each button on the host controls toolbar.

One feature of Zoom that you might consider using for small group discussions and increased interactivity between your students is Zoom breakout rooms. You also might want to look into using Zoom’s polling feature during class as an easy way to keep students engaged and gauge their understanding of the content.
When the meeting is done, click the red “End” button. As host, you will be given two options: “Leave Meeting” or “End Meeting for All”. Leaving the meeting means that the meeting is still “running” and students can continue talking or leave at their own discretion. Zoom meetings need a host, so you will be asked to assign a new host if you leave the meeting in this way (unless there is already a co-host present). Ending the meeting for all will immediately end the meeting for everyone—the host, any co-hosts, and participants.
Recording Your Meeting
If you wish to record your class sessions, you can automatically set up recordings from the meeting’s settings or you can manually start and end the recording during the session. Meeting recordings can either be saved to the cloud (online storage) or locally (to your computer). We recommend saving your recordings to the cloud as they can easily be accessed and shared in Canvas through the Zoom integration and also prevent the storage on your computer from being quickly depleted.

When you set up your Zoom meetings through a Canvas course, you can also view and manage your Zoom cloud recordings for those meetings from the Zoom integration in Canvas.
Meeting cloud recordings are unpublished by default, which means only you, the instructor, can see them. If you would like your students to be able to view the recordings from within the “Cloud Recordings” tab of the Zoom integration in your Canvas course, you can manually publish your session recordings by clicking the “Publish” toggle next to each one.
Questions?
For most technical questions, please contact Zoom support or the UWGB Help Desk. If your questions pertain to the Zoom Canvas integration, your best point of contact is dle@uwgb.edu. Lastly, if you have general questions about how you can use Zoom to support your teaching, we always welcome you to email the CATL inbox (catl@uwgb.edu) or schedule a consultation with a CATL member.