April 30, 2021
Chocolate Chip Cookie Dough Dip
 If you’re the type of person who loves raw cookie dough and would eat it every day if it wasn’t so bad for you (insert sad face emoji), then this is a recipe you need to try! Not only is this chocolate chip cookie dough dip a super quick, easy, and cheap dish to bring to a party or potluck post-COVID, it’s also a delicious sweet treat you can make for yourself, just because.
Ingredients:
- 1 eight-ounce package of cream cheese, softened
- ½ cup of unsalted butter, softened
- 1 cup of powdered sugar
- 2 tablespoons of brown sugar
- 1½ teaspoons of vanilla
- 1 cup of mini chocolate chips
- 1 cup of toffee bits
Directions:
- Using an electric mixer, whip together the cream cheese and butter in a large bowl.
- Add all remaining ingredients and mix with a wooden spoon until well-combined.
- Chill the mixture in the refrigerator for one hour.
- Serve with graham cracker sticks, apple wedges, pretzels, Oreo cookies, or whatever else you’d like.
—Mallory Allen, Cooking Editor
Peanut Butter Kiss Cookies
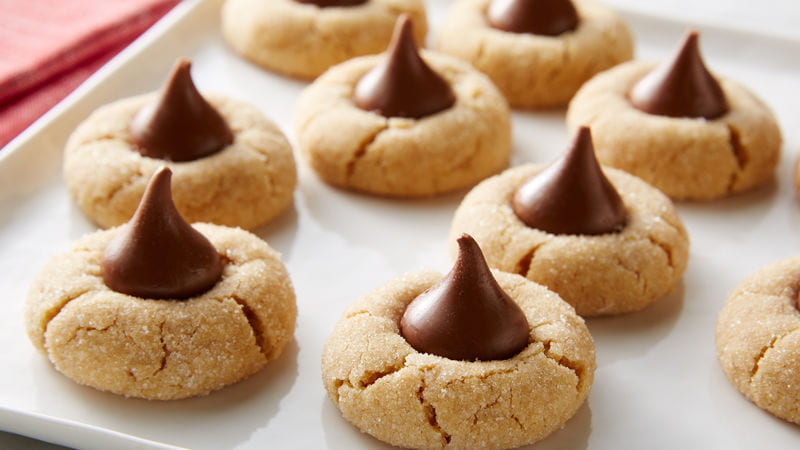 Ingredients:
- 1 cup peanut butter
- 1 cup sugar
- 1 large egg, room temperature
- 1 tsp. vanilla extract
- 30 milk chocolate kisses
Instructions:
- Preheat oven to 350 degrees.
- Cream peanut butter and sugar until light and fluffy.
- Beat in egg and vanilla.
- Roll into 1-inch balls. Place 2 inches apart on ungreased baking sheets.
- Bake until tops are slightly cracked, 10-12 minutes.
- Immediately press 1 chocolate kiss into center of each cookie.
- Cool for 5 minutes before removing from pans to wire racks.
—Bruce Kong
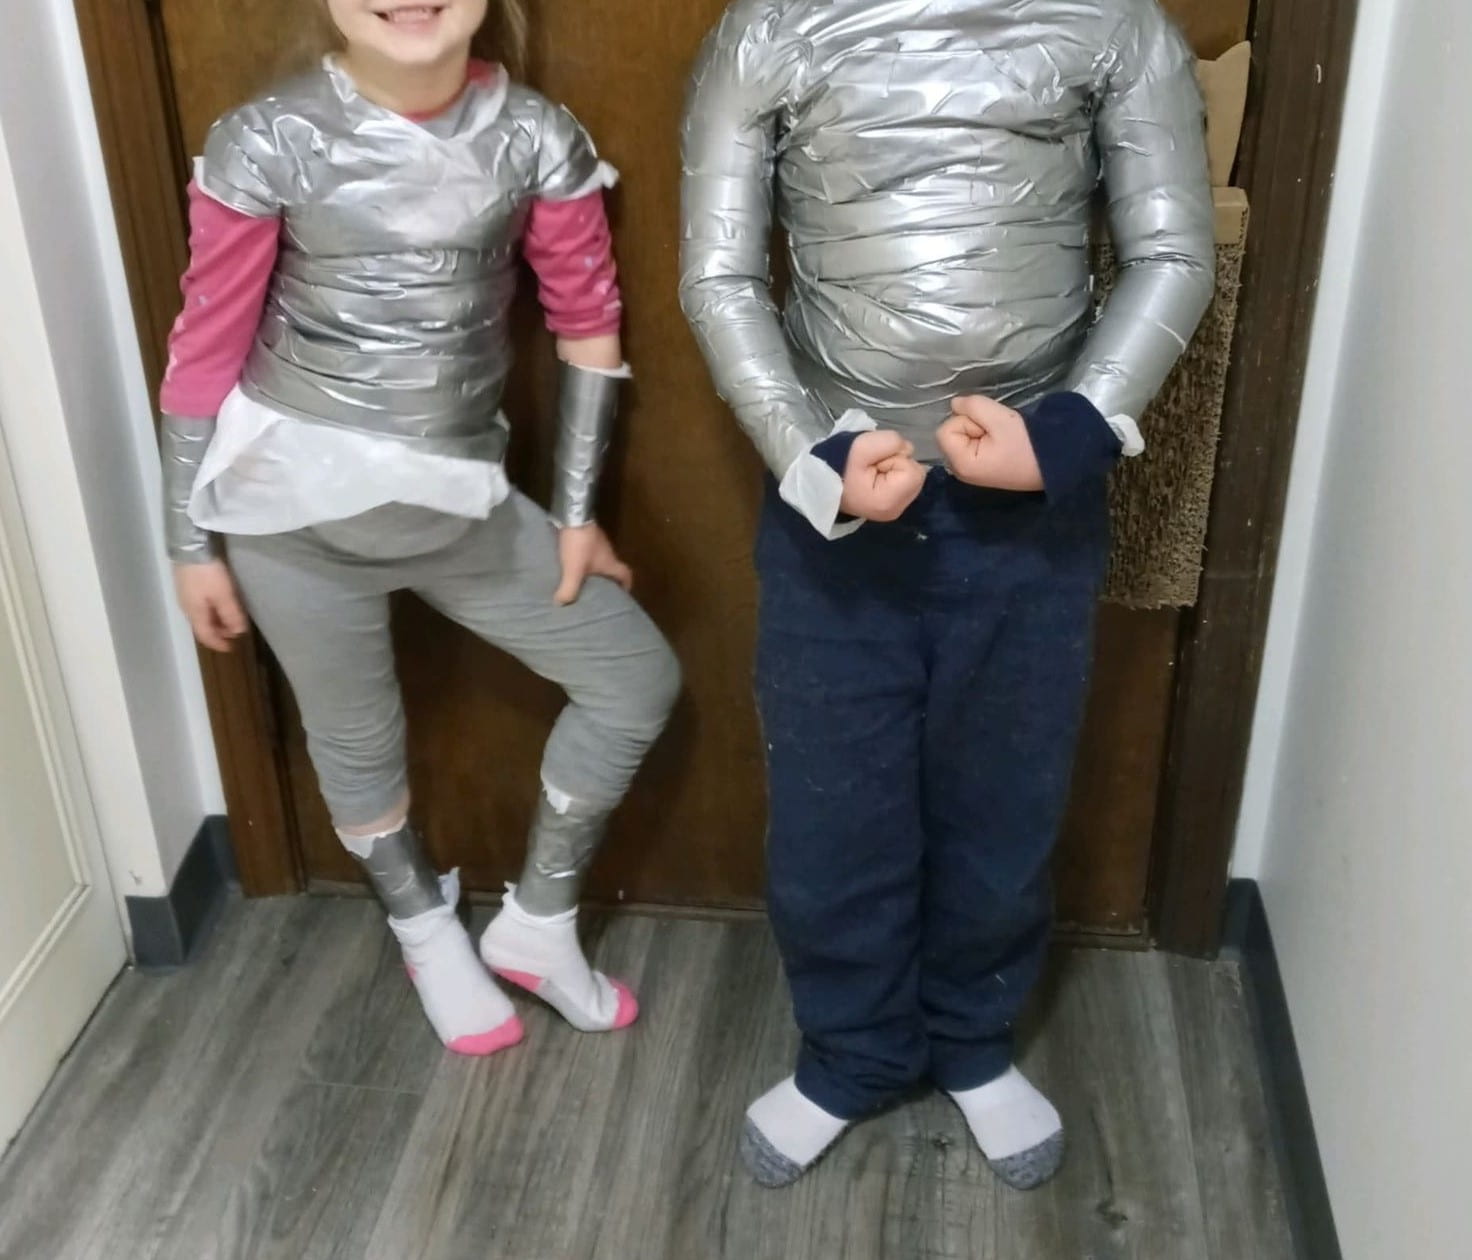
 This article is part of a series that will walk you through the steps to create a cosplay costume, suitable for Comic Con, our local Kitsune Kon, and more. Angel is currently working on an Iron Man and a Rainbow Dash costume for two kids in her family.
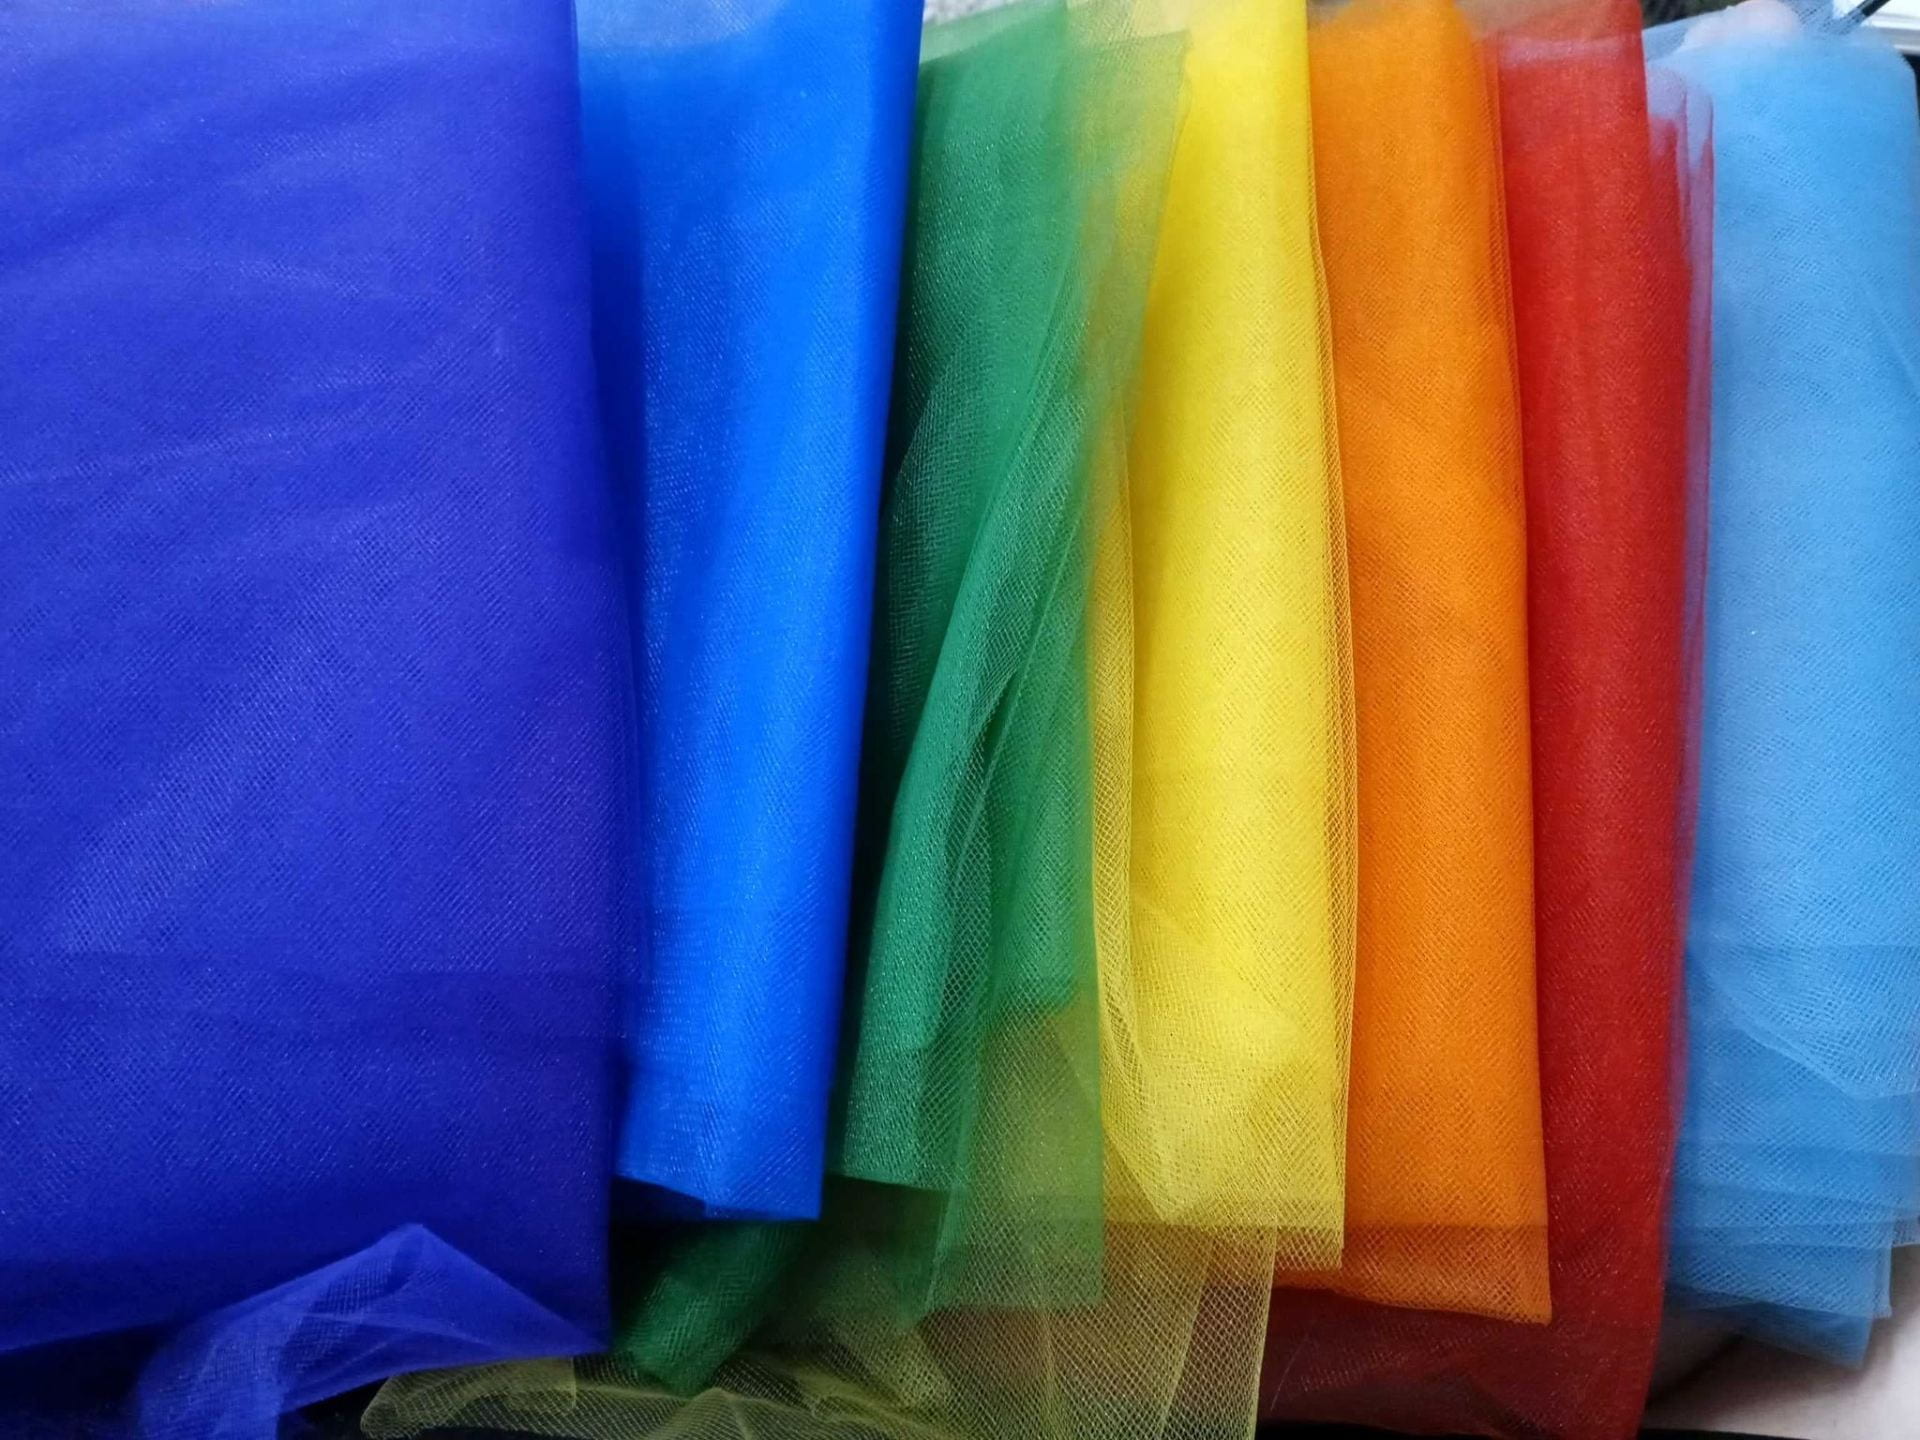
 Update on Rainbow Dash: When I started sewing the skirt together, my sewing machine began to glitch, so I’m in the process of fixing it. The machine is currently sucking in the tulle instead of sewing.
 Ingredients:
 If you love baking (like me) or just have a major sweet-tooth (also me!), then you have to give these cookies a shot. My family and I first tasted them when my dad’s friend brought a few over to our house for us to try, and the first words out of all our mouths was, “Oh my gosh, we need this recipe!” Prepped and cooked in less than 30 minutes, these pumpkin chocolate chip cookies are quick and easy to make, but best of all, they’re utterly delicious!
 Whether you’re trying to make something amazing to wear to (hopefully open) conventions this summer or getting a head start on preparing your Halloween costume, this new section is the perfect place for you. In this issue, we are going to talk about choosing a character for your cosplay.